
Welcome to my world of Sn3 Scale Model Railroading

Thinning Paper Signs
By
Tom Troughton, MMR
 One thing you can do to enhance some of the buildings on your layout is to apply some signs and posters to their walls. While not seen much today, it was a common practice during the early to mid-20th century for salesmen and promotion agents to attach posters for movies, traveling shows and commercial products on buildings and fences around the country. |
 Photo 1. For most of our modeling scales, the signs will appear more realistic if they're thinned to a scale thickness. The larger scales can use the printed sign as it comes from the printer, but others will want to thin them for our buildings. |  Photo 2. If you're careful, most of the backing paper can be removed so that it's possible to see the surface texture of the structure the signs are attached to through the printing. |
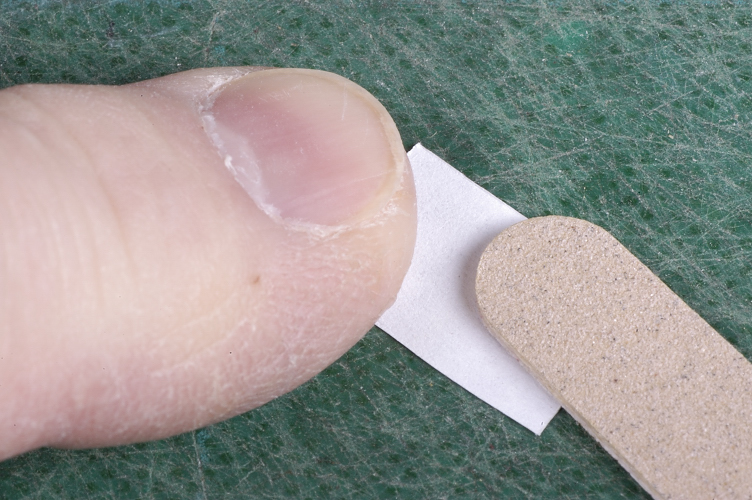
 Photo 3. I usually start with a printed sign. Sometimes they are provided in a kit, but more often, they can be created with a computer, then printed with a standard inkjet printer. Because the inkjet printing inks will run and smear in the process, I normally start the process by spraying the printed surface with Krylon Flat Fixative. |  Photo 4. Once the sign has been trimmed to its finished size, I used to use a sanding stick to remove the excess paper from its back side. |
 Photo 5. I wasn't happy with the sanding stick method and now thin the signs by lightly dampening the backing paper with water and very carefully rubbing it with my finger or the tip of a modeling knife blade. The idea is to remove enough paper to see the backside of the ink layer. |  Photo 6. If done carefully, the paper will slowly form itself into a ball or clump which can be moved completely off the back of the sign. |
 Photo 7. Sometimes, instead of using my finger or knife blade, I'll use a stiff bristle brush to remove the paper. When thinned enough, a single edge razor blade is used to lift the sign from the work surface. |  Photo 8. Because I test fitted the sign at its final location, I knew where to place a puddle of diluted white glue which will be used to hold it in place. |
 Photo 9. Small tweezers were used to lift the sign and position it in place in the puddle of diluted glue. A soft bristle brush was then used to gently nudge the sign into its final position. The dampened brush can also be used to gently work out the excess glue from under the sign and from the surface of the building. |  Photo 10. Sometimes, if I'm brave, I'll use my dampened finger to gently press the sign into the surface pattern of structure. |
 Photo 11. To further work the thinned sign into the grooves of siding, I'll use the rounded edges of a pointed dental tool to push it into place. |  Photo 12. The board pattern of the side walls of structures can be seen through the signs or posters when they're carefully applied to our buildings. |
 Photo 13. Printed paper signs and poster applied to walls and fences help bring these normally static items to life and add a great amount of detail to them. Don't hesitate to add some to your buildings before they're placed on the layout. | |
Click Here To Return To Railroad Home Page