

Welcome to my world of Sn3 Scale Model Railroading

The Community of Tall Timbers Replaces
The Engine House
By
Tom Troughton, MMR
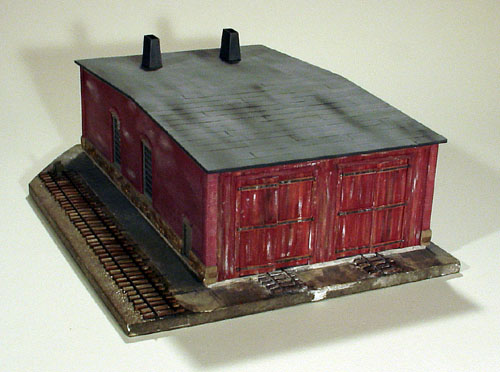 Photo 1. Here's the new home for the helper engines that are assigned to the engine facility at Tall Timbers, Colorado on my Cimarron and Tall Timbers RR. The side and rear wall castings were part of a Banta Modelworks, "Ridgway Engine House kit," while the front wall and two sets of doors were scratch built. | 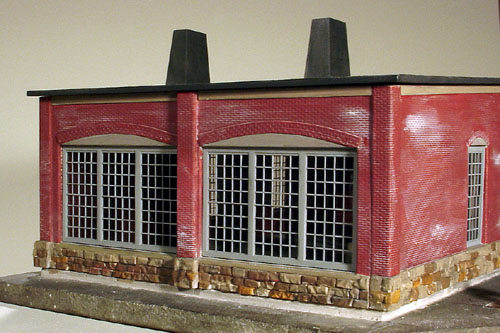 Photo 2. Since the tracks were already situated and a Celotex "make do" structure was in place, I couldn't use the original plaster rear wall pieces because they were too wide. They were cut them down with a band saw to fit the location and a brick pilaster casting was used to hide the seam. The Grandt Line window castings were also cut and fitted into the openings. I used a solid piece of clear vinyl storm window material for the glazing and secured it in place with ACC. |
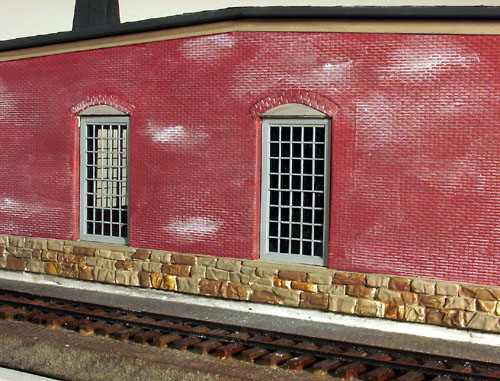 Photo 3. Once the plaster parts of the building were glued together, I painted them with Krylon Satin Beige spray paint to seal the plaster and give it a base color. The bricks were painted with Red Oxide liquid acrylic craft paints. The same type of paints were used on the stone foundation. A thin wash of white, for mortar, and black for grime was applied with the tip of a brush and allowed to "wick itself" along the mortar lines. |  Photo 4. Prior to the building being secured in place, a concrete floor was created with dry wall compound which was applied with a wide bladed putty knife and "screeded" smooth with a concrete trowel. It took three applications to achieve a smooth surface. Once it had dried, it was sanded smooth and flange ways were cut along the inner sides of the rails with an old hacksaw blade. |
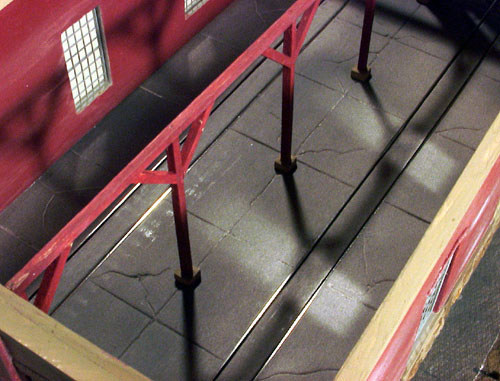 Photo 5. Section lines were carved in the concrete with an Xacto knife blade. The completed "concrete" floor was then sprayed with Krylon Flat Gray primer. | 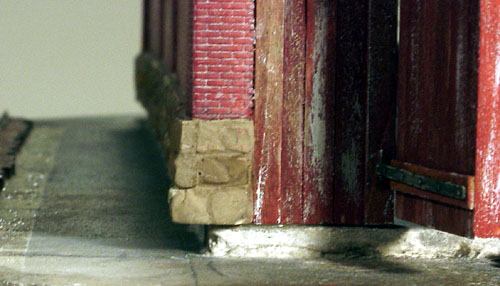 Photo 6. The concrete floor is slightly smaller than the outer dimension of the building. This will allow for the ground cover to be brought directly up against the foundation stones to create a realistic effect. |
 Photo 7. The entire front wall had to be scratch built. A piece of untempered Masonite serves as an interior support and prepainted strip wood pieces were glued onto it. The door openings were framed and large, windowless doors were built. Three Grandt Line 1/4" scale engine house door hinges were used per panel and attached with 5-minute epoxy. Brass wire was bent and secured into the door frames which allow the panels to be lowered easily onto them. The doors can be positioned in open or closed positions. | 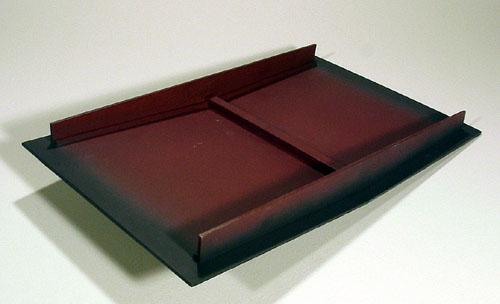 Photo 8. The roof is made from two pieces of the untempered Masonite. Two additional pieces were cut at the proper angles and glued into position on the inner surfaces to serve as supports and also to aid in centering the complete roof in place. A single piece of ½" square scrap lumber was glued in place to reinforce the joint between both of the roof panels. Once everything was checked for fit, it was spray painted with Krylon Ruddy Red primer. Polly Scale Weathered Black was further air brushed around the underside and edges. |
 Photo 9. Prior to assembling and painting, alignment lines were scribed into the panels to aid in positioning the roll roofing paper. Non-Flammable contact cement was applied to the panels and the peel and stick roll roofing material that I had cut to 3' widths was carefully applied. | 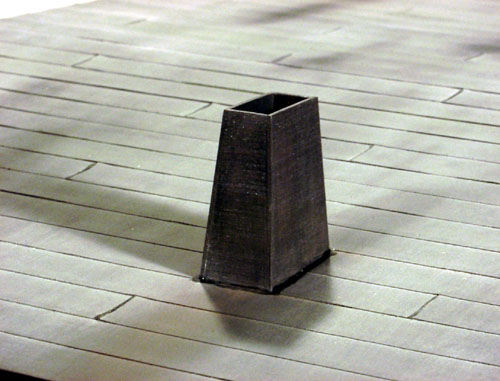 Photo 10. The two vent towers are left overs from the Sargent's engine house project. I cut their bases at an angle that allowed their top surfaces to be parallel with the ground. They were glued in place to the roofing panels. White glue was carefully applied to around their bases to suggest tar sealing material. When the glue had dried, it and all the end seams of the roll roofing were painted with Pactra Glossy Black paint to represent additional tar applications. |
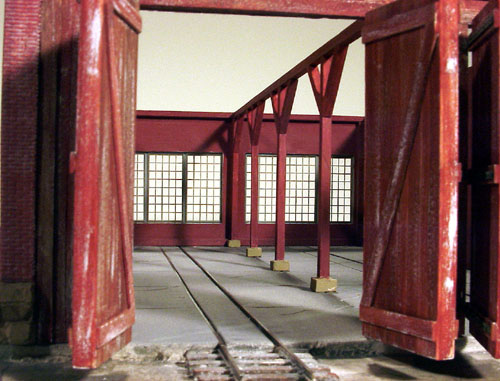 Photo 11. The center timber beam was made as a complete assembly and fitted into place. Thin pieces of strip wood were glued around the bases of the posts to suggest concrete pilings. Tiny brads were pushed into a hole drilled into the base of the posts and positioned into another hole that was drilled into the floor to prevent the post from moving. | 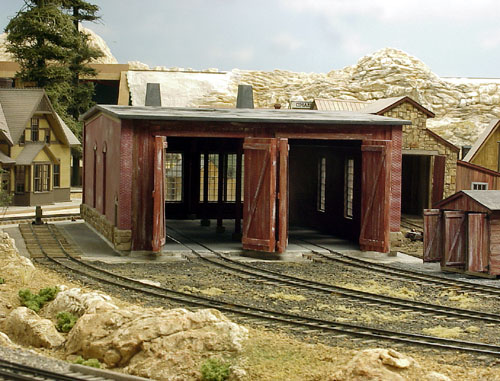 Photo 12. Here's the new engine house sited on the layout. Ground cover still needs to be added, but it's ready for use. |
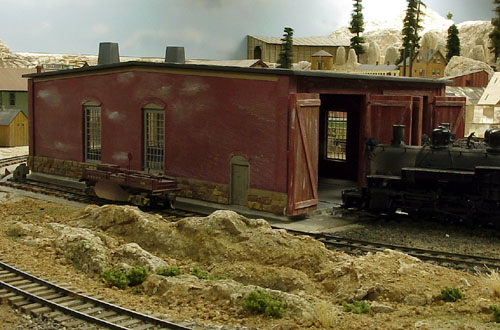 Photo 13. A scratch built flanger made by Tony Kassin is already spotted along side the building. | 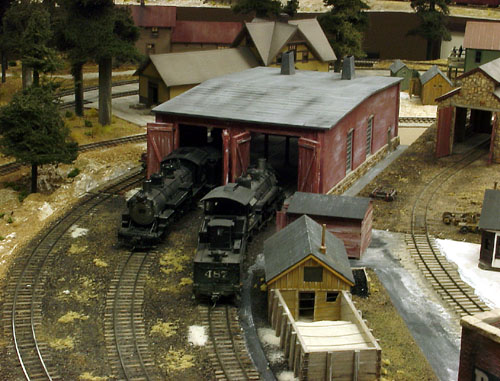 Photo 14. In this overhead view, the general locale is seen better. The main station is directly behind the engine house and a car repair building and blacksmith shop are on the right. Two engines, numbers 491 and 487 are already being serviced. |
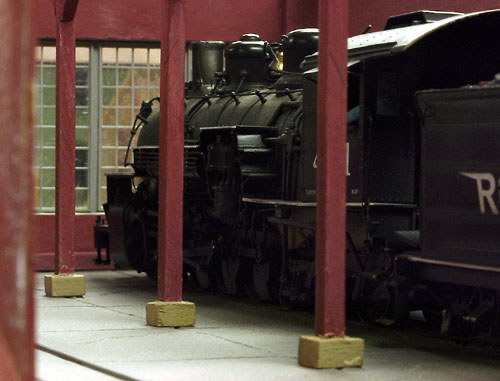 Photo 15. Here's an inside view of engine #491 as it slows to a stop, ending it's daily chores. | 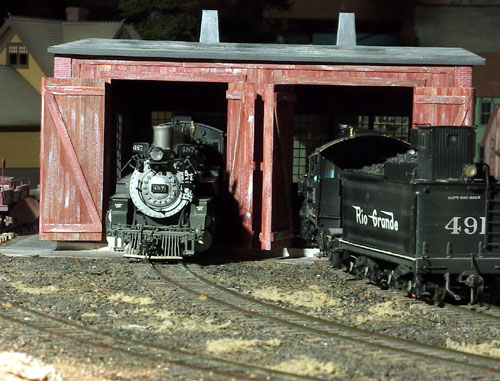 |
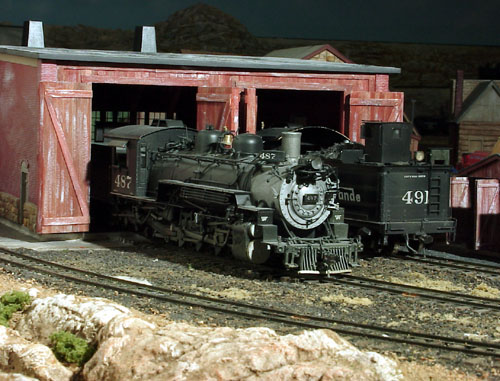 Photo 17. This shot features 487 and 491 as they await their orders. | 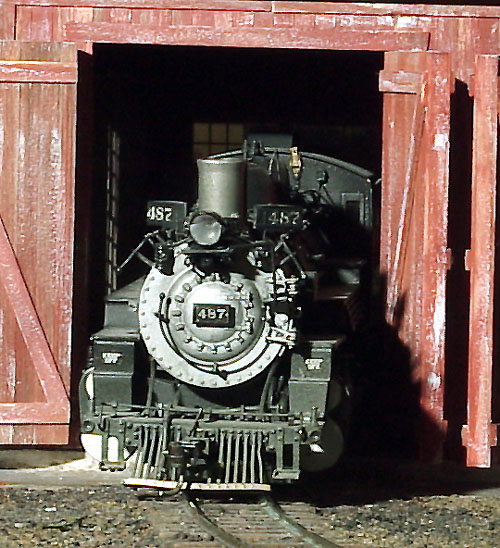 Photo 18. Once I started to use the engine house, I noticed that I had a problem with the width of the door openings. Rather, it was a problem caused by the thickness of the doors. When they were fully opened, there wasn't enough width to clear the cab sun shades or roof overhang. As is clearly seen in this photo, it's a tight squeeze for a K-36, and just a bit more for a K-37. I should have foreseen that problem, but hindsight is always 20:20. The doors had to go! |
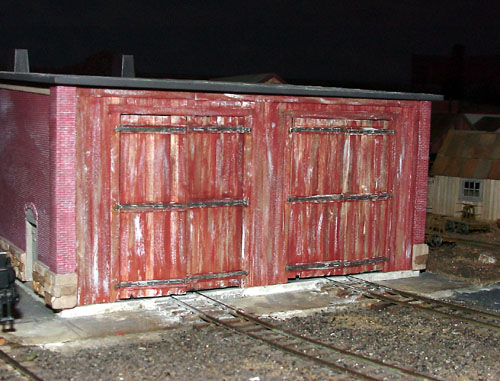 Photo 19. Here's the front wall with the new doors installed. There's not much difference in their appearance while they're closed. |  Photo 20. However, once they're opened, the difference is quite noticeable. The overly thick doors were unsightly and probably not to prototypical. It's still a tight squeeze for the larger K class engines, but at least there's room to spare. |
 Photo 21. The thinness of the new doors is evident in this shot. In fact, the one on the left is starting to twist and warp from all its use. | 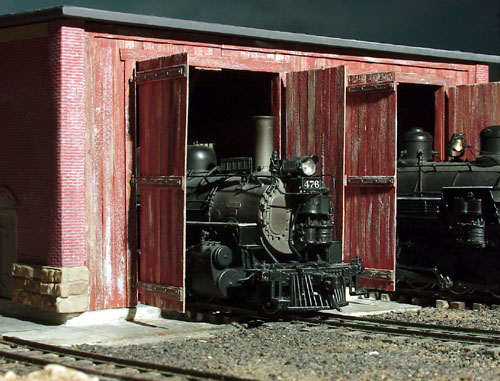 Photo 22. A K-28 doesn't have a bit of trouble making it's way past the new doors. |
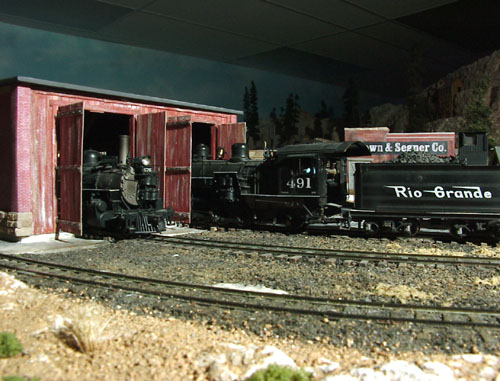 Photo 23. I wish I had taken the excess thickness of the old doors into consideration when I made them. It was awkward installing these doors to the front wall when it was already in place. |
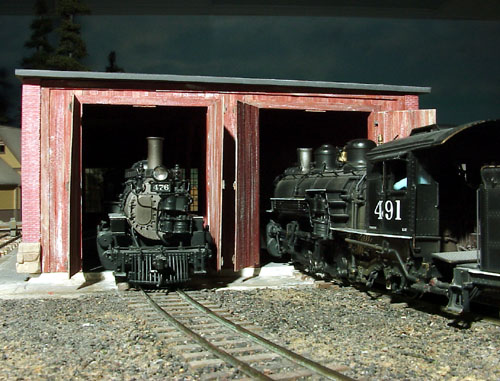 Photo 24. The original doors were aligned and attached to the door frames when the front wall was still loose and sitting flat on the work bench. It was much easier doing it that way. |
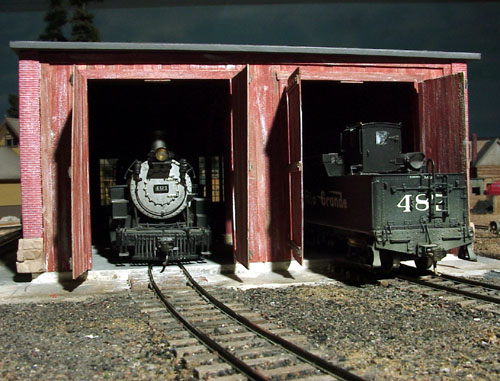 Photo 25. The scene will look better once ballast, dirt and weeds are placed around the new engine house. | 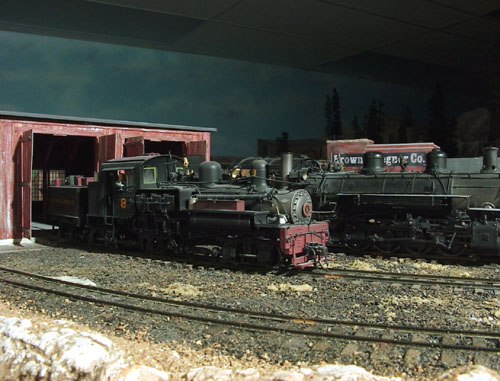 Photo 26. A shay from my Ponderosa Lumber Company has made the long trip down the mountain for major repairs at the Tall Timbers facility. |
| I hope you enjoyed this photo tour of the new engine house and the reworking of the main doors. It's quite a large structure and stands out as one of the main attractions in the community of Tall Timbers. | |
Click Here To Return To Railroad Home Page