

Welcome to my world of Sn3 Scale Model Railroading

Building A Measuring Triangle
By
Tom Troughton, MMR
| Here is the basic 3:4:5 right triangle that lets you measure objects easier when you're doing field research for a scratch building project. If you do need more accurate dimensions, a tape measure can be used too. Then, once you're home working with photos from your trip along with a set of dividers from a drafting set and a scale ruler, you can fairly accurately calculate dimensions to help you build your model. | ||
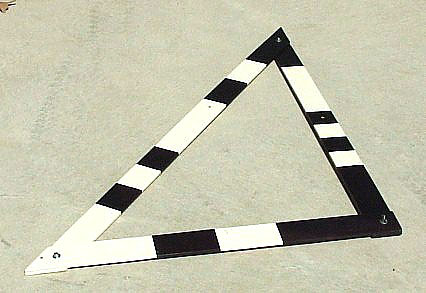 This is the basic triangle. It's comprised of three pieces of 3/8" exterior grade plywood, painted and marked off in easily seen dimensions and held together with two permanently fastened bolts, washers and locking nuts and a removable bolt, washer and wing nut.The length of each side is 3', 4' and 5' respectively. | 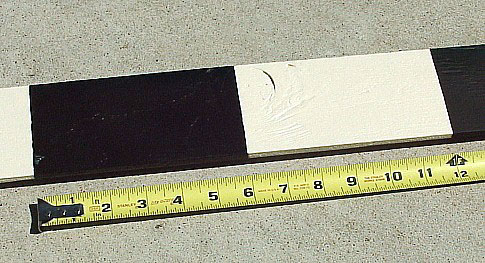 Six inch markings | |
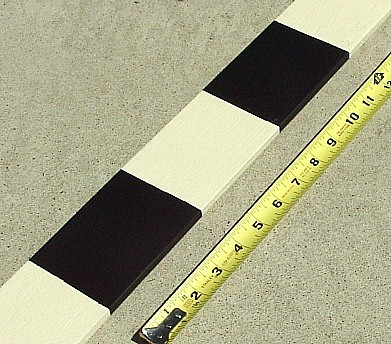 Four inch markings | 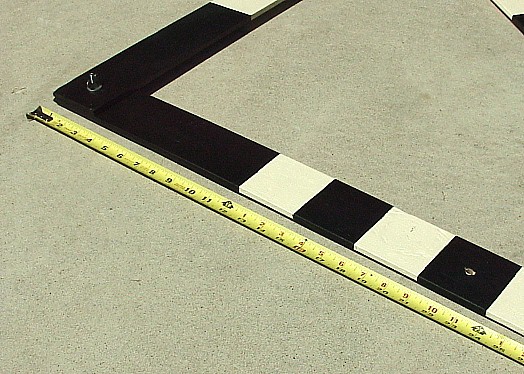 One foot and three inch markings | |
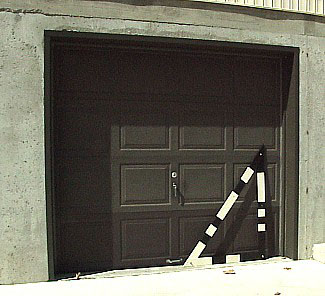 To use the device, set or rest it against the object to be measured, step back and take a picture. | 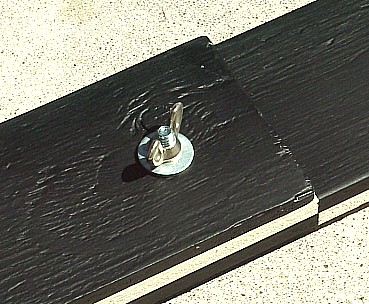 A short bolt, washer and wing nut are used at one corner, but it is easily removed and inserted into another set of holes making the triangle ready for transporting or storage. | |
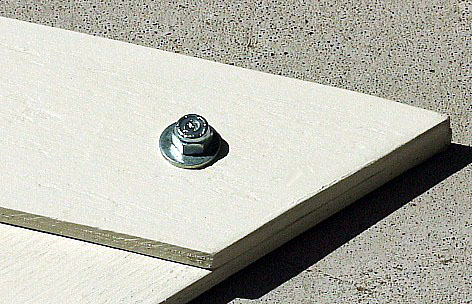 Two additional bolts, washers and locking nuts are used at the two other corners and are not removed. They help keep the three side components together. When you're ready to leave, unscrew the wingnut, swing the three pieces together and reinsert the bolt and nut to keep the device together. | 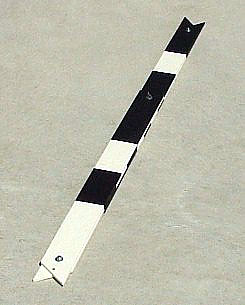 The closed up triangle can easily be stored for transport or storage. | |
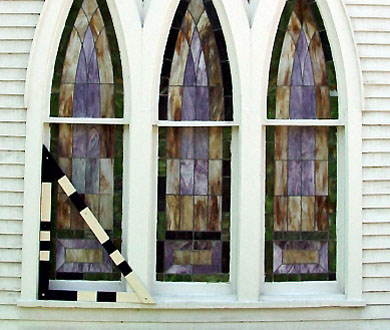 This final scene shows the triangle in use during a field trip to measure a stained glass window in an old church. Why not make one of these folding triangles to use on an upcoming field trip to measure something for your next scratch building project. | ||